All my editing for this post was done using Canva.
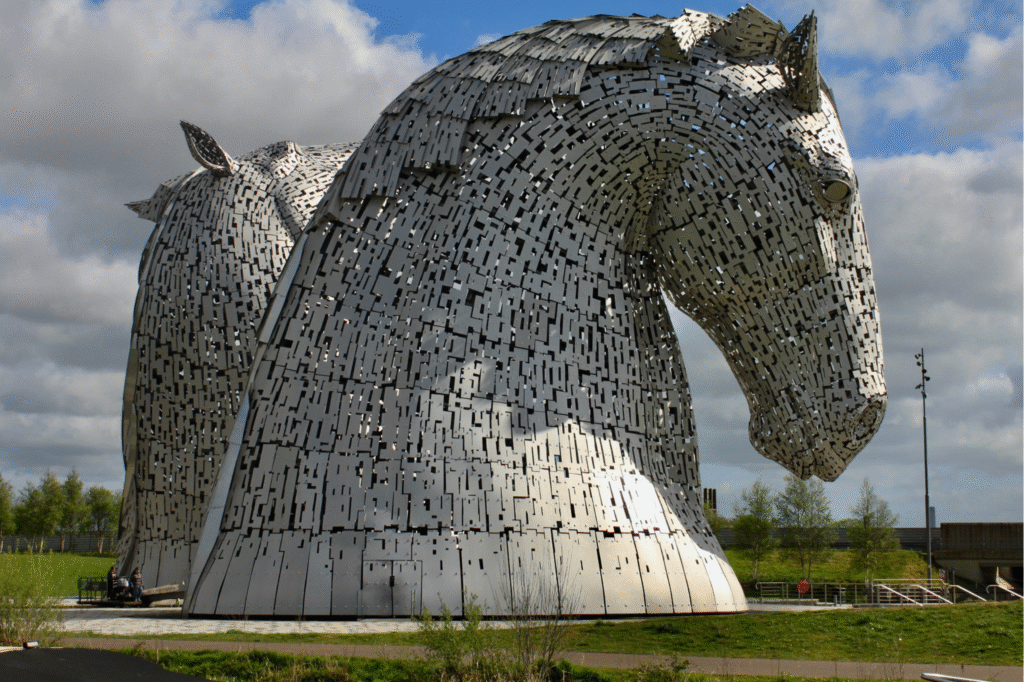
This is the original shot of the Kelpies.
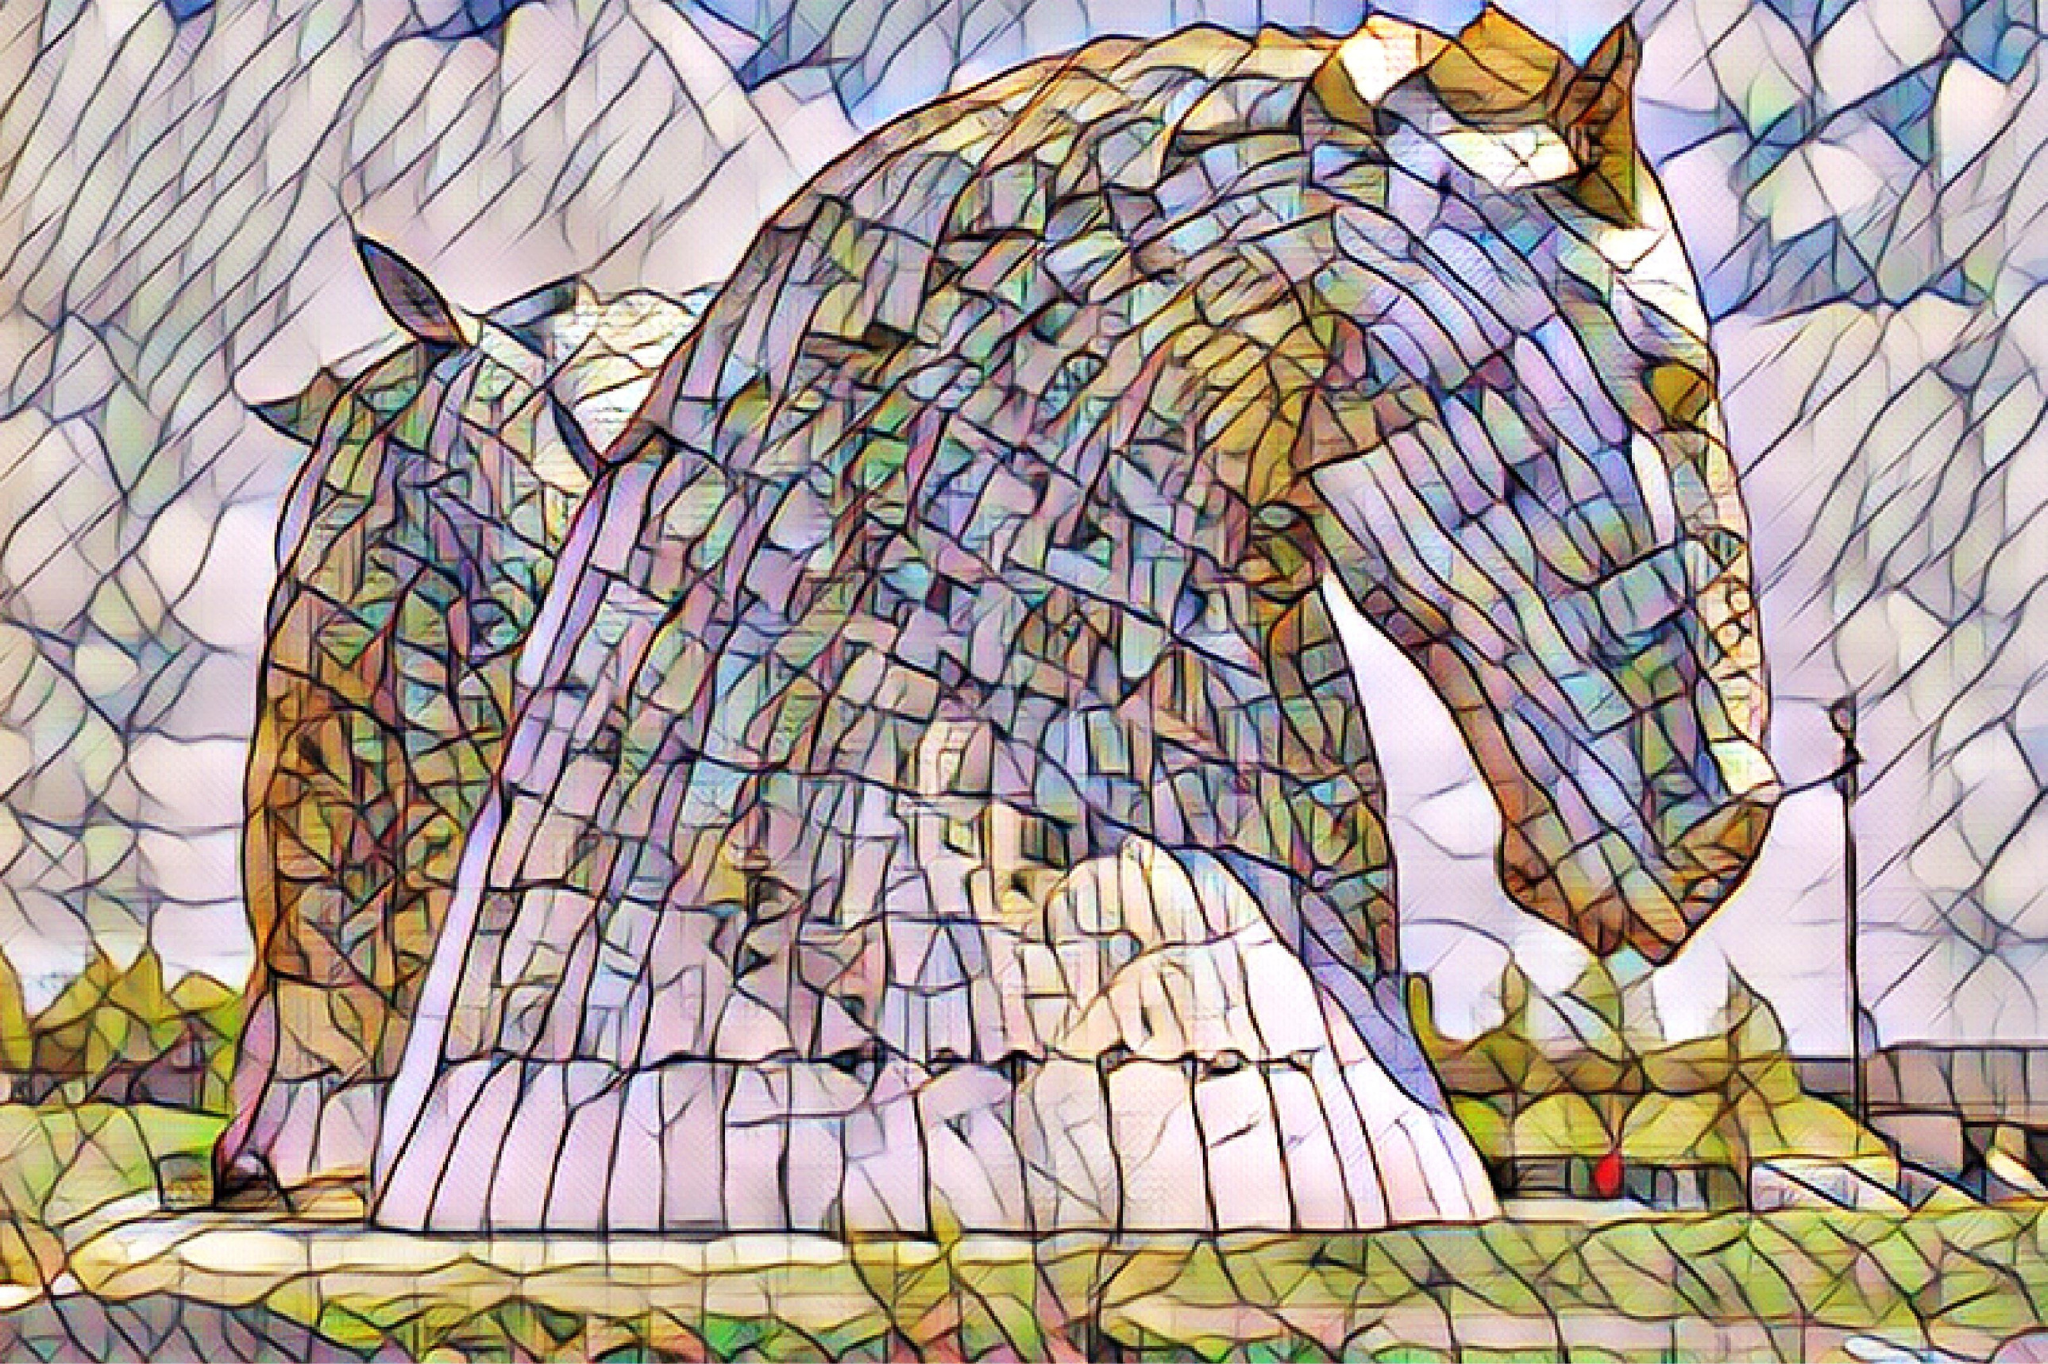
Kelpies
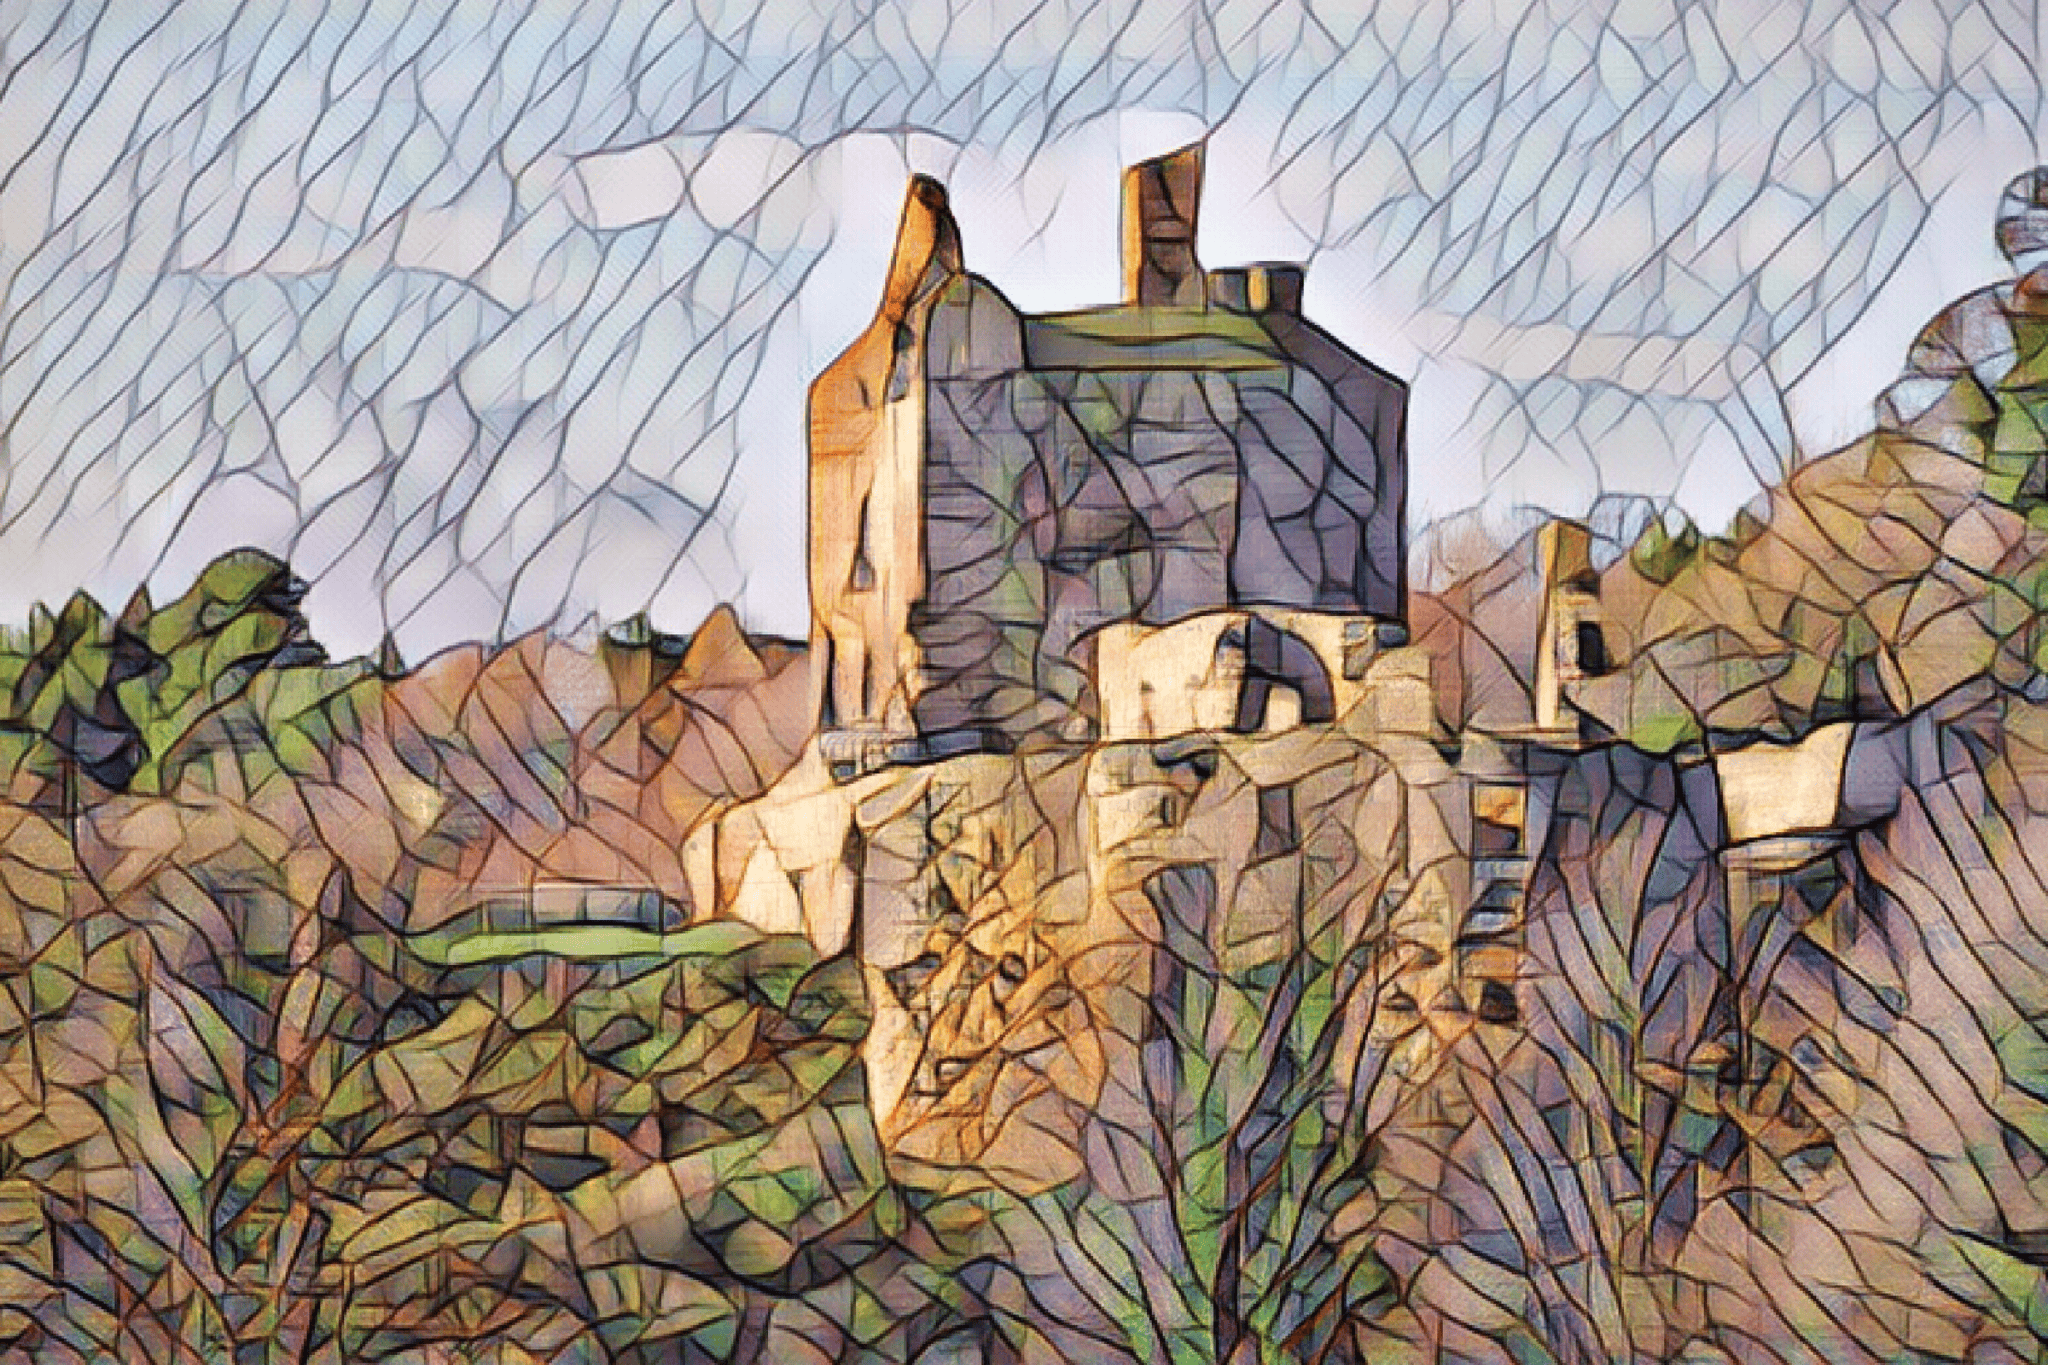
This first edit is using one of the Canva paint effects — mosaic. There are various settings where you can control the opacity & size of the mosaic. I kept the settings low so that the Kelpies can be seen for what they are.
Seemed an obvious to combine the two challenges in the one post. I’ve done some very basic editing on this one, using Apple’s embedded photo editing software.
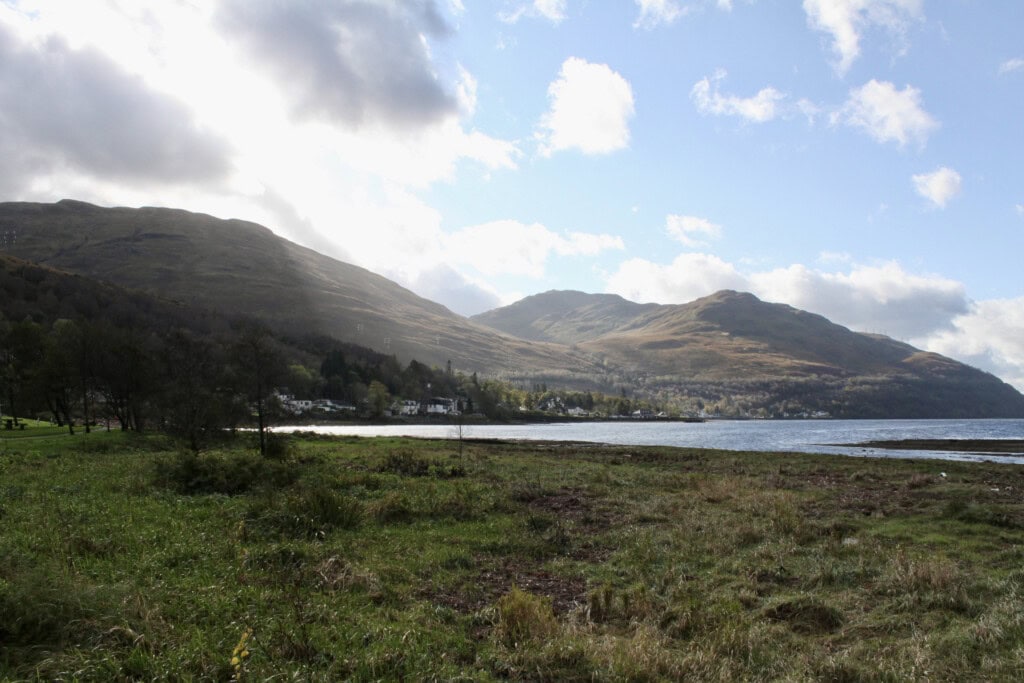
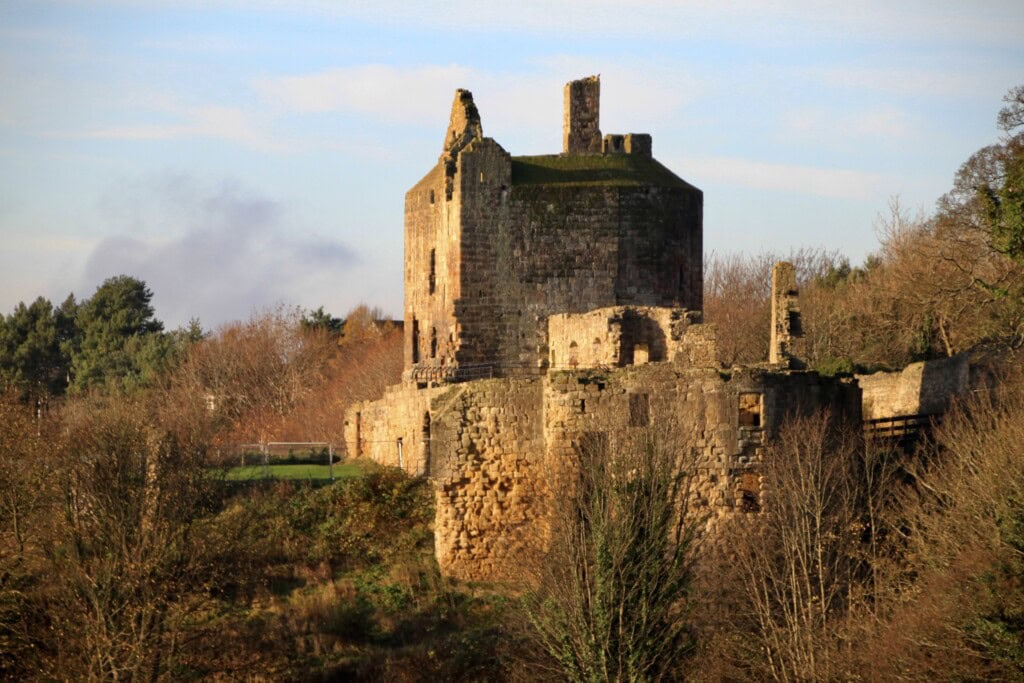
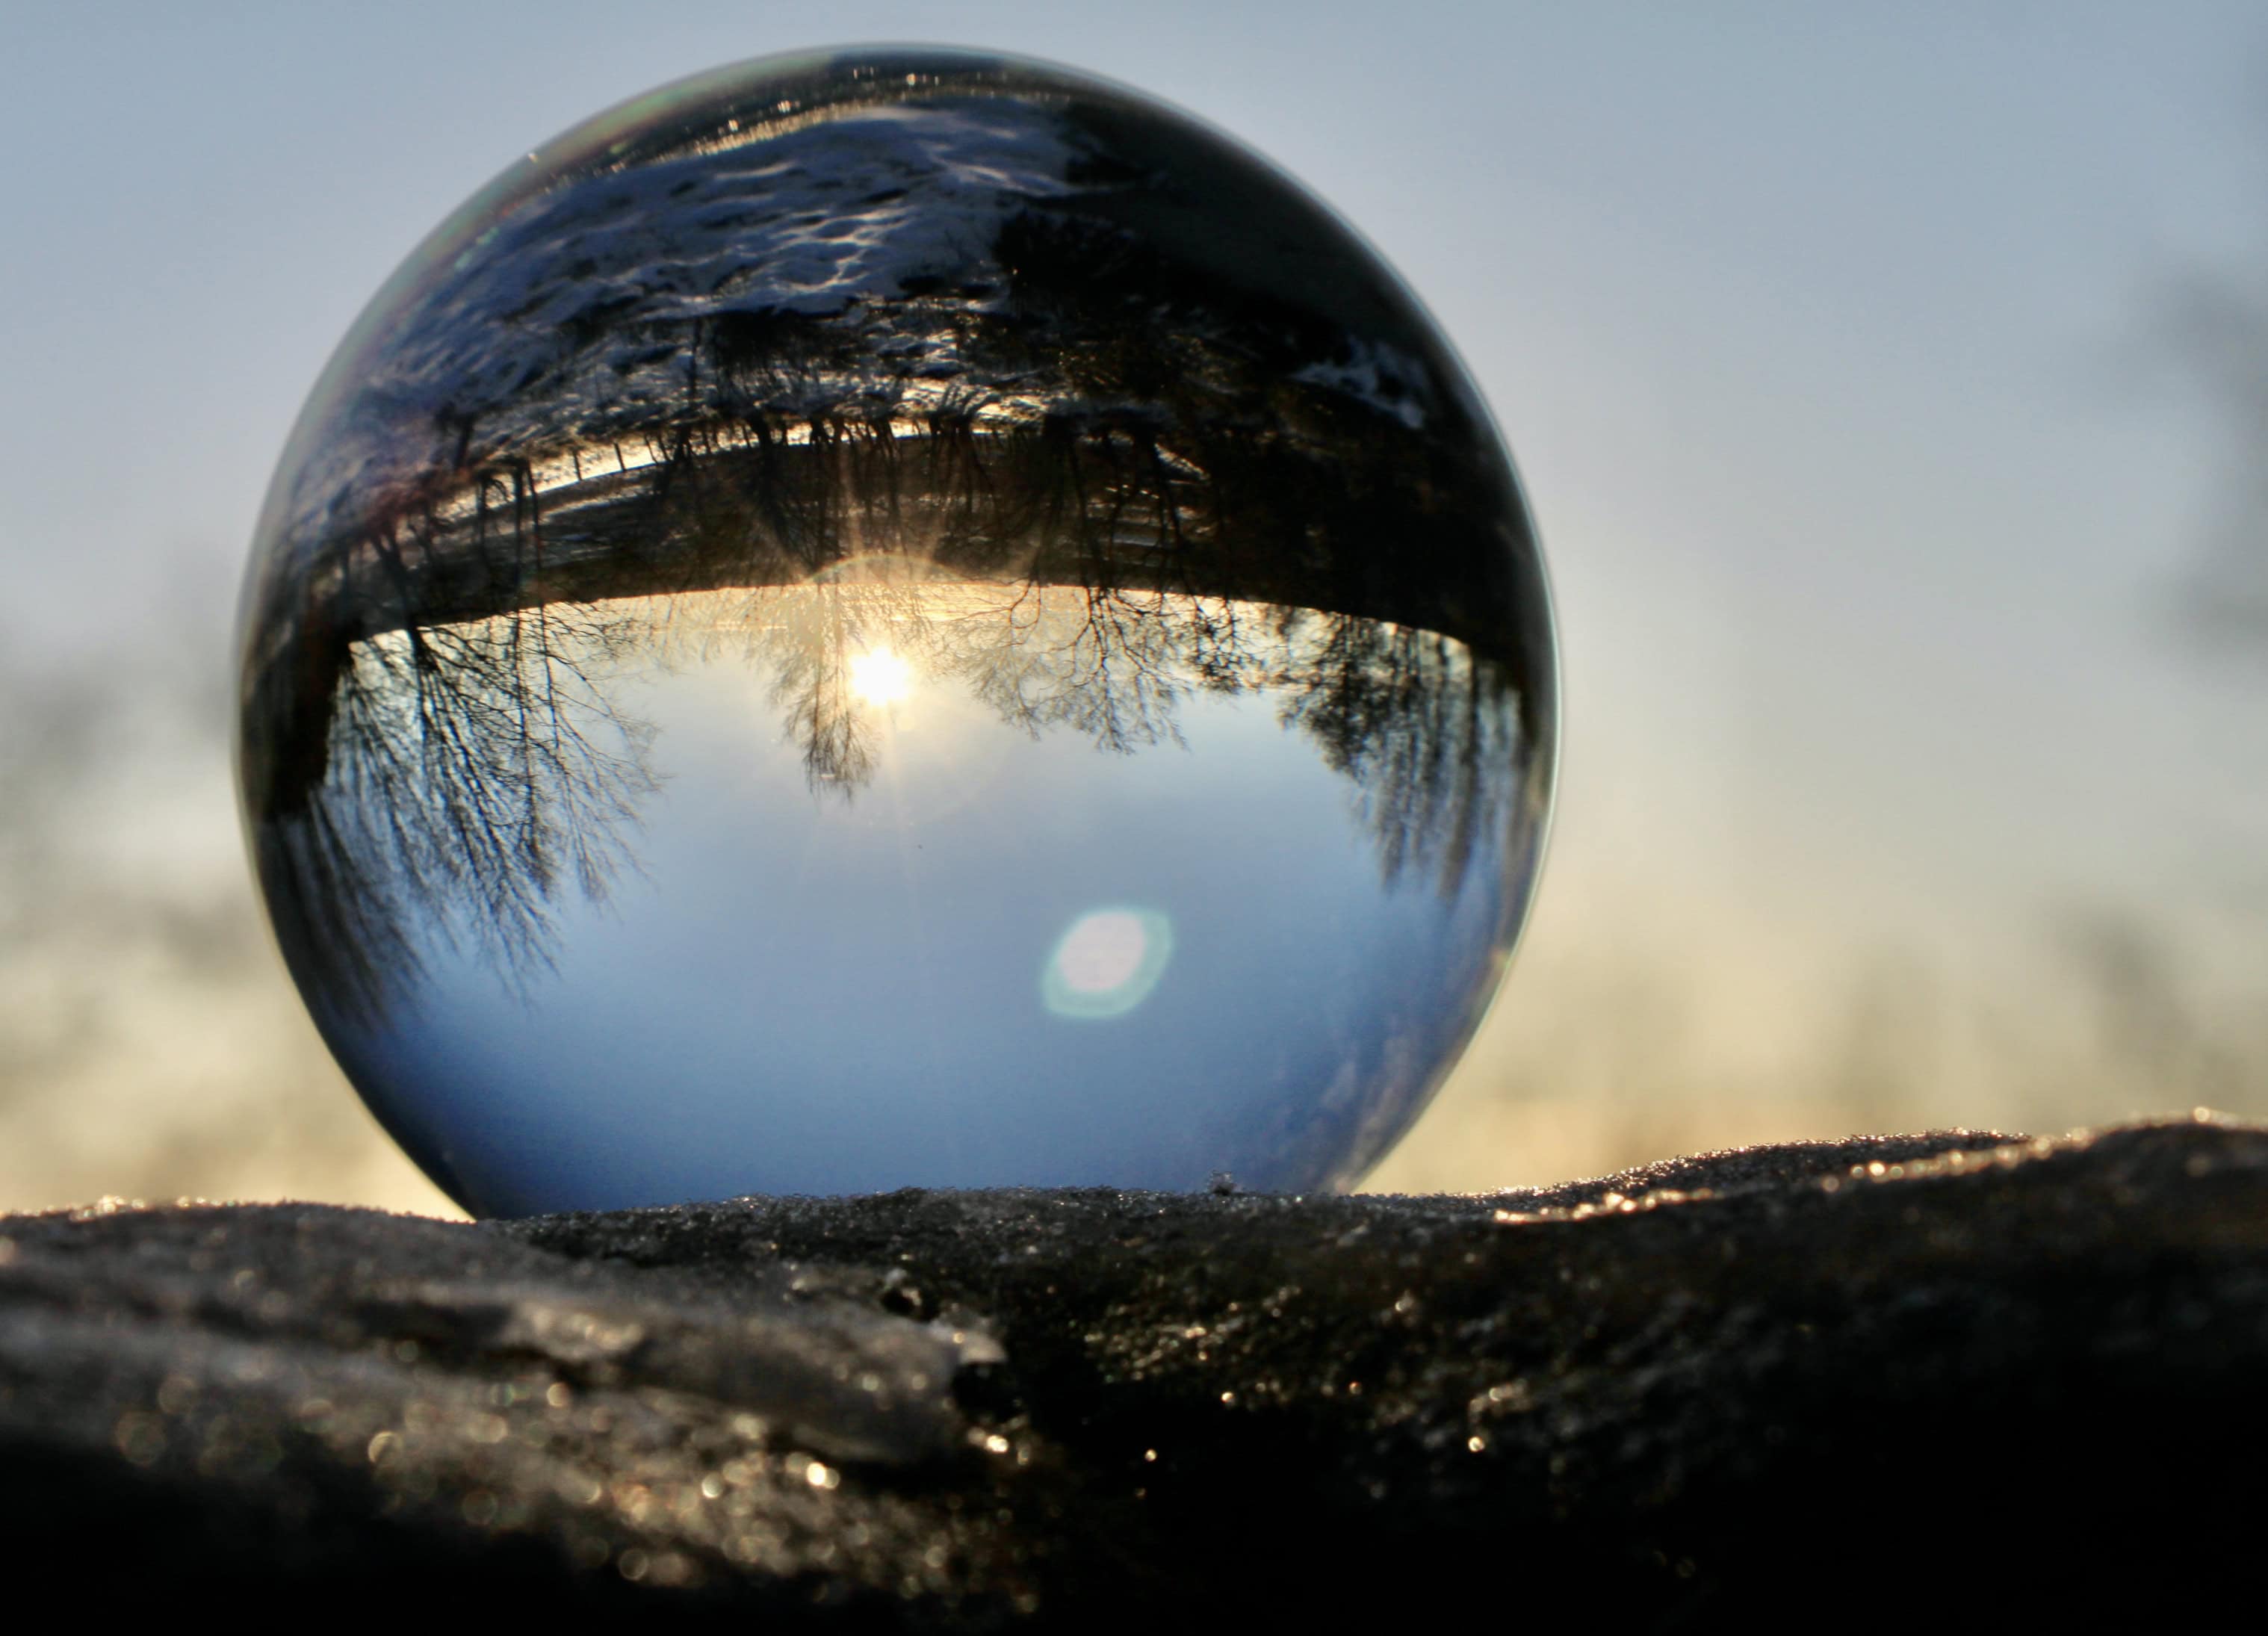
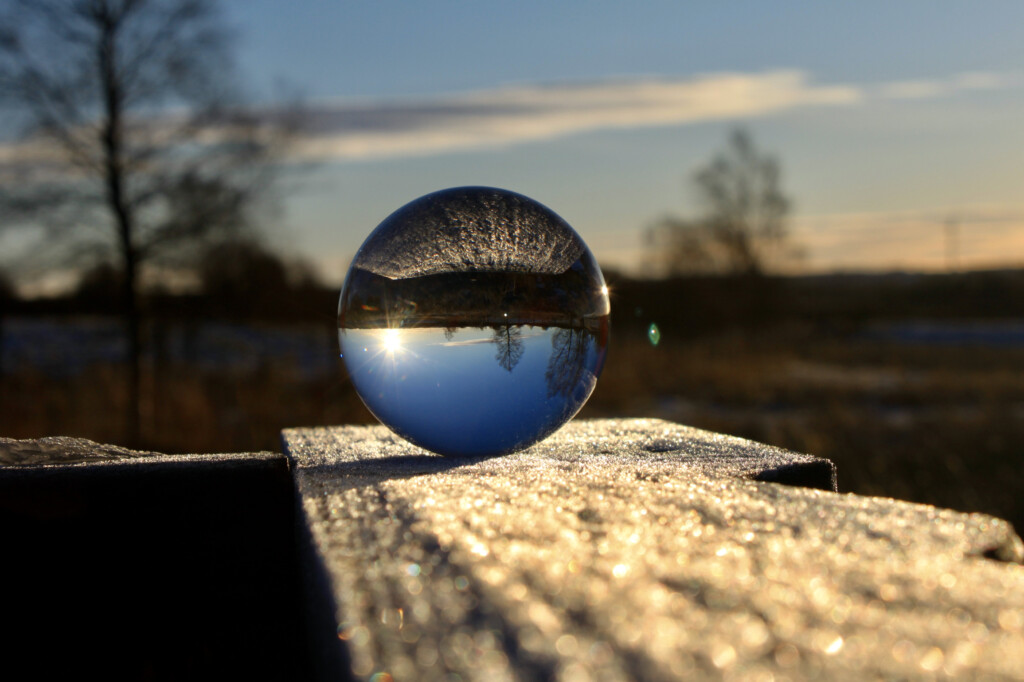
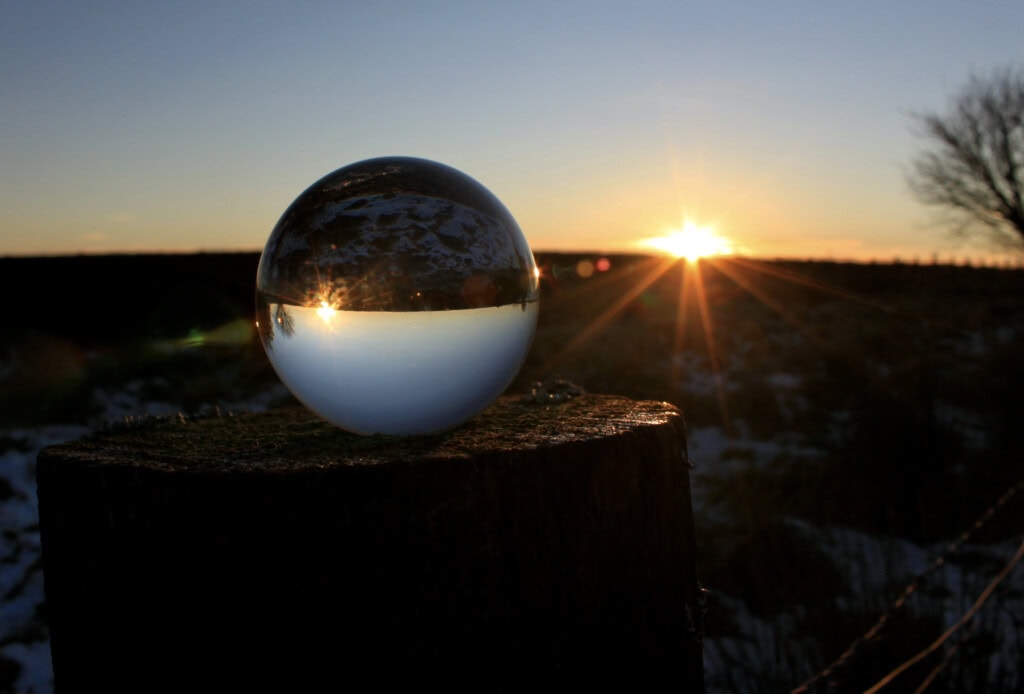
The original
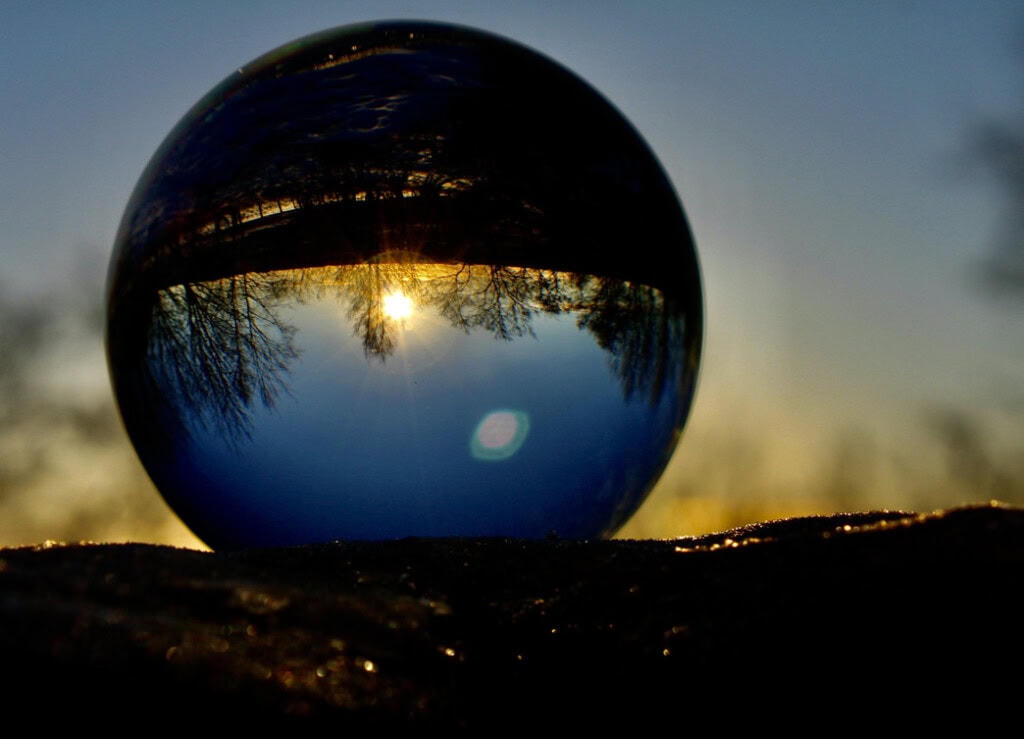
The first edit is a basic square crop, normal way up & inverted.
Square crop, normal & inverted
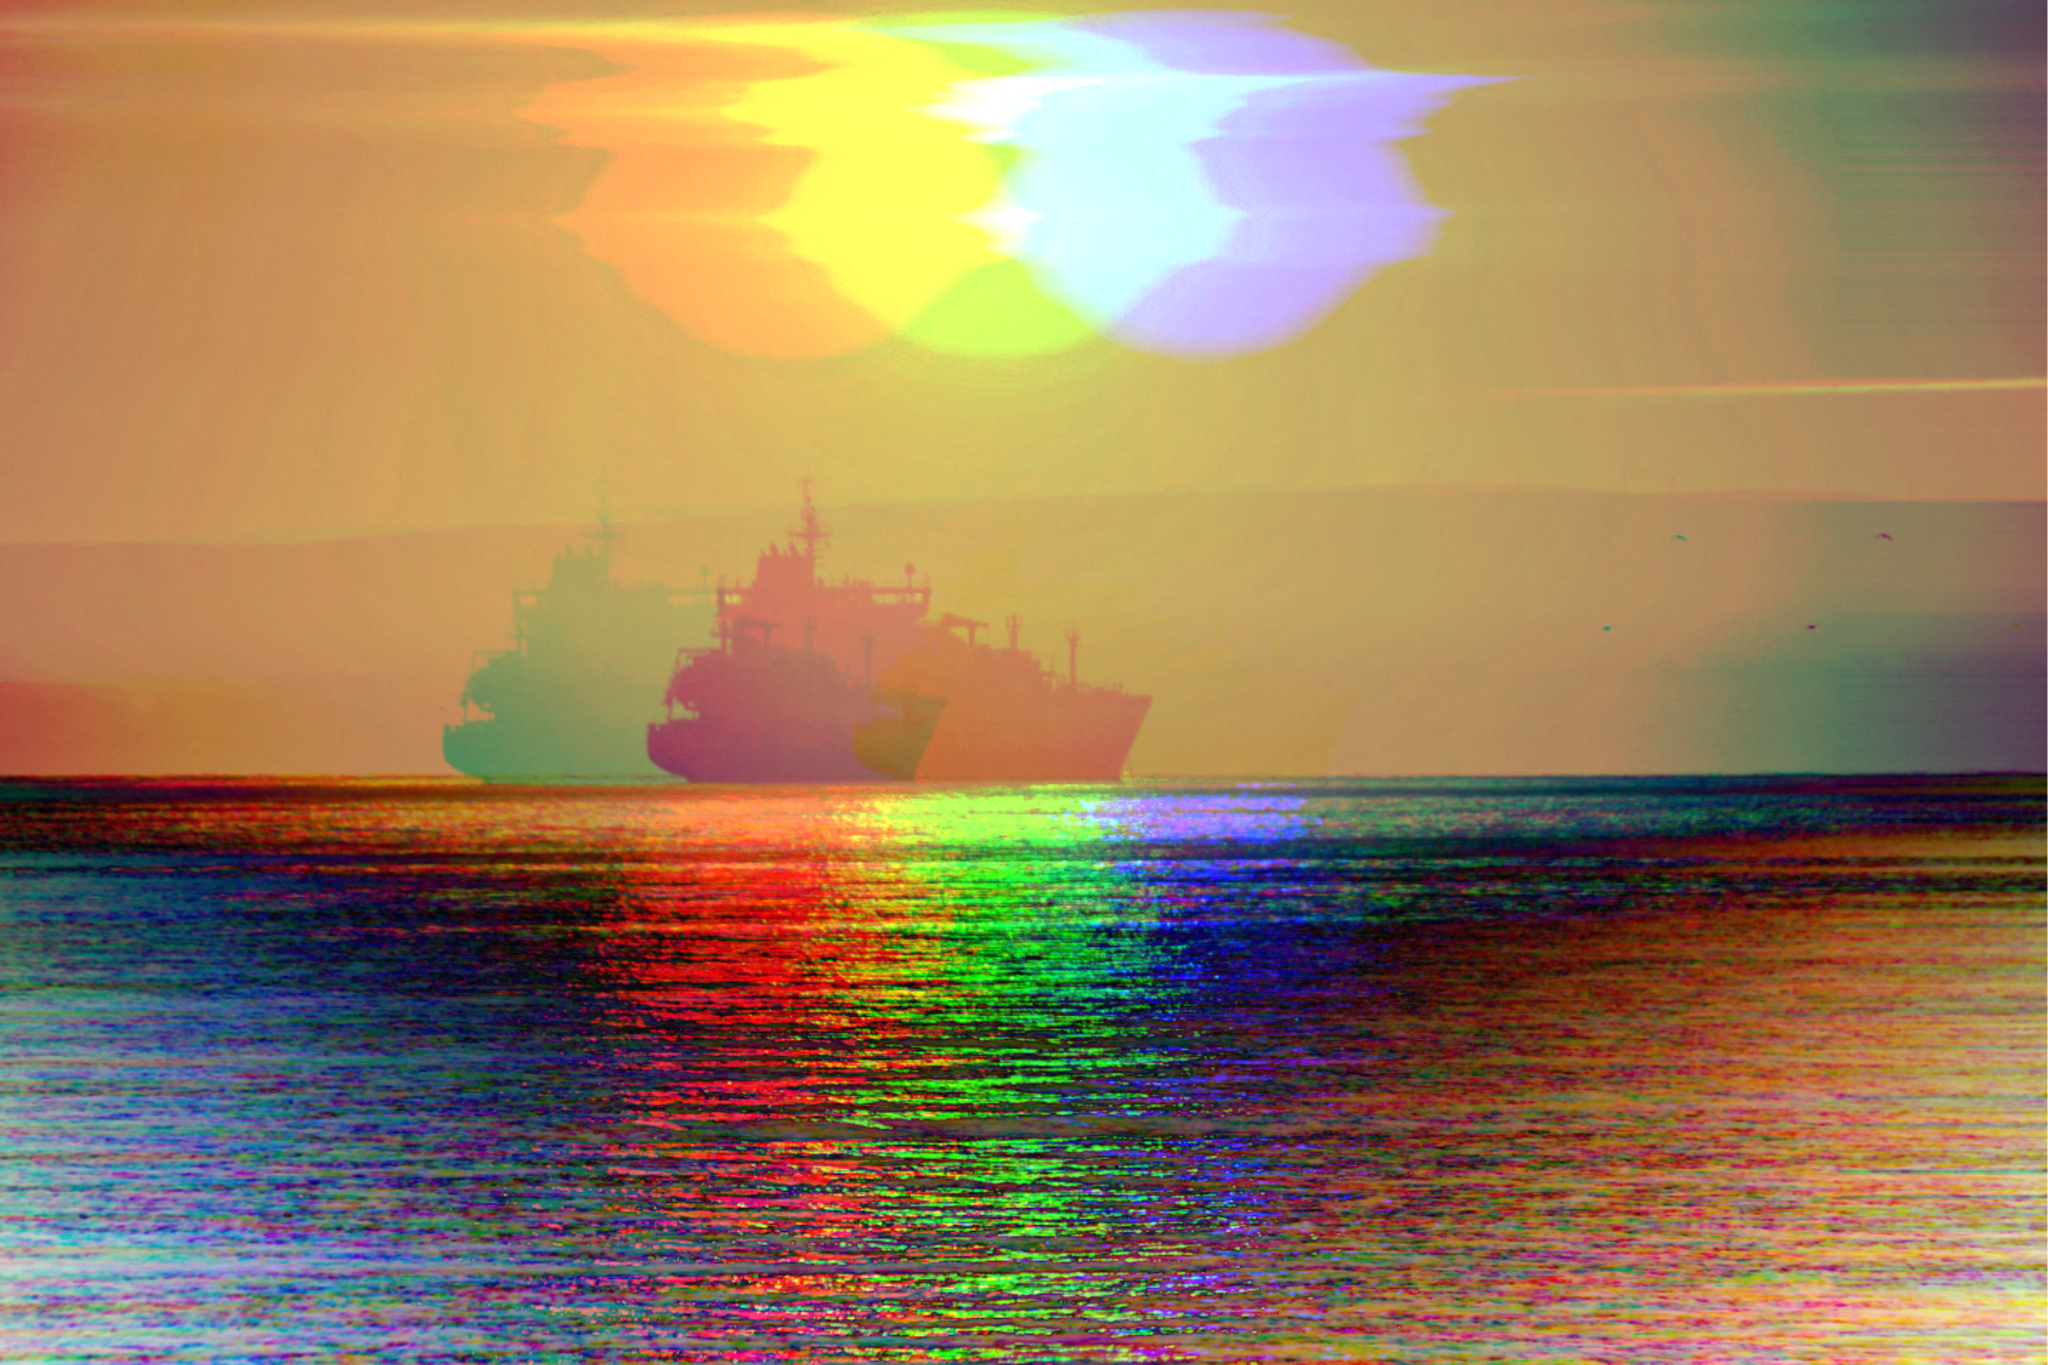
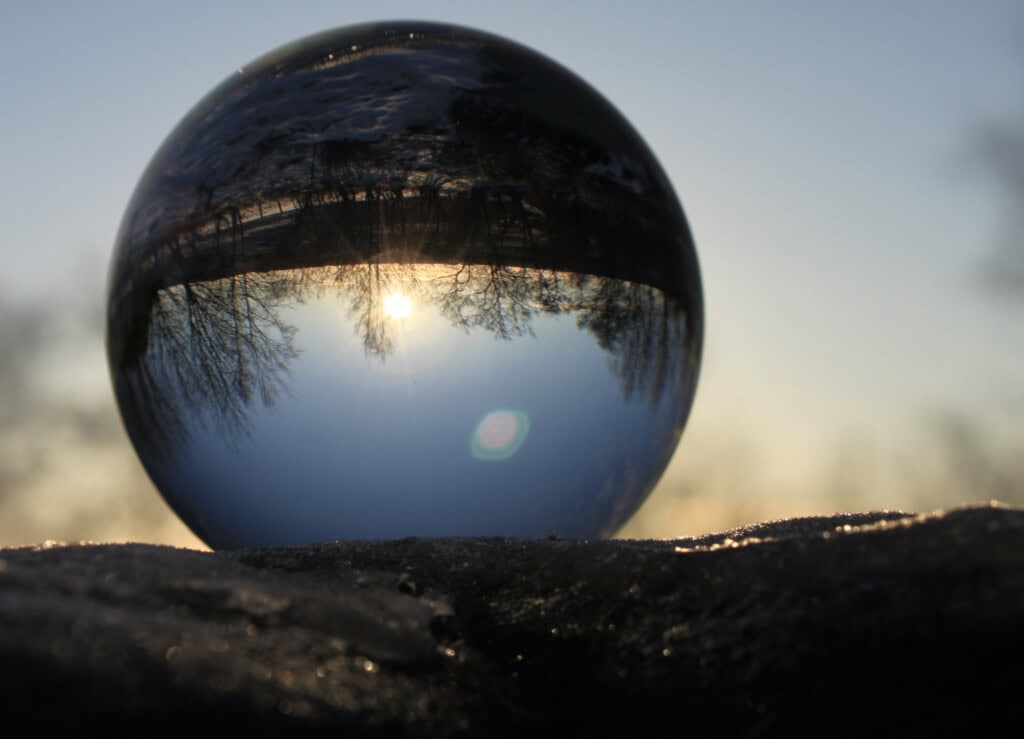
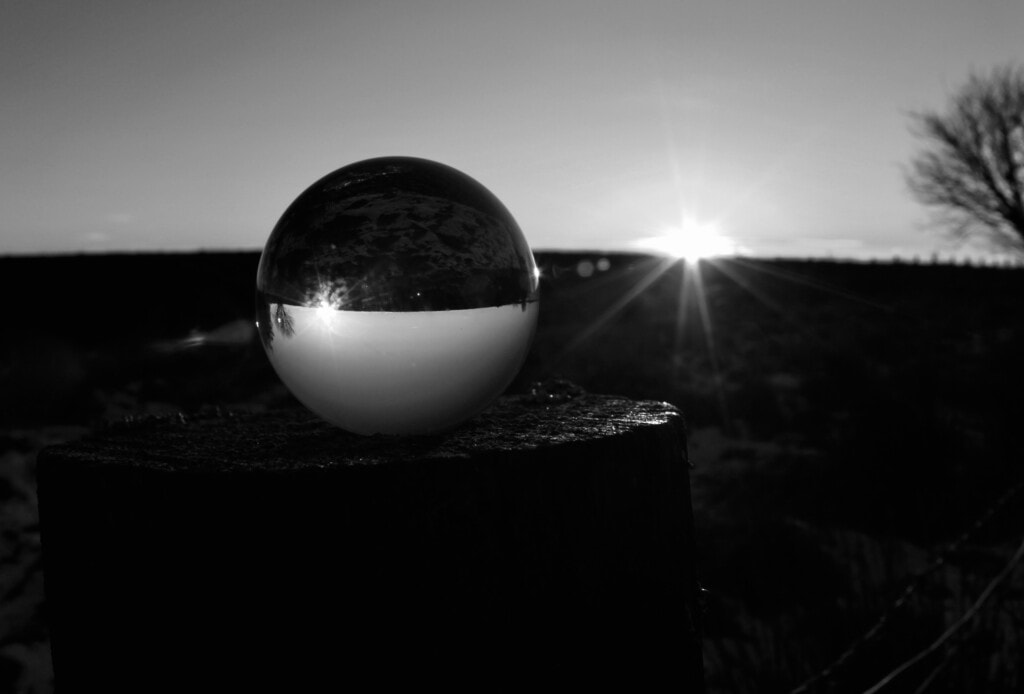
For the next edit, I dropped the light to it’s lowest setting. A lot of detail in the shot is lost, but the colours really come into their own with a rich contrast between the blue & yellow.
Minimal light setting
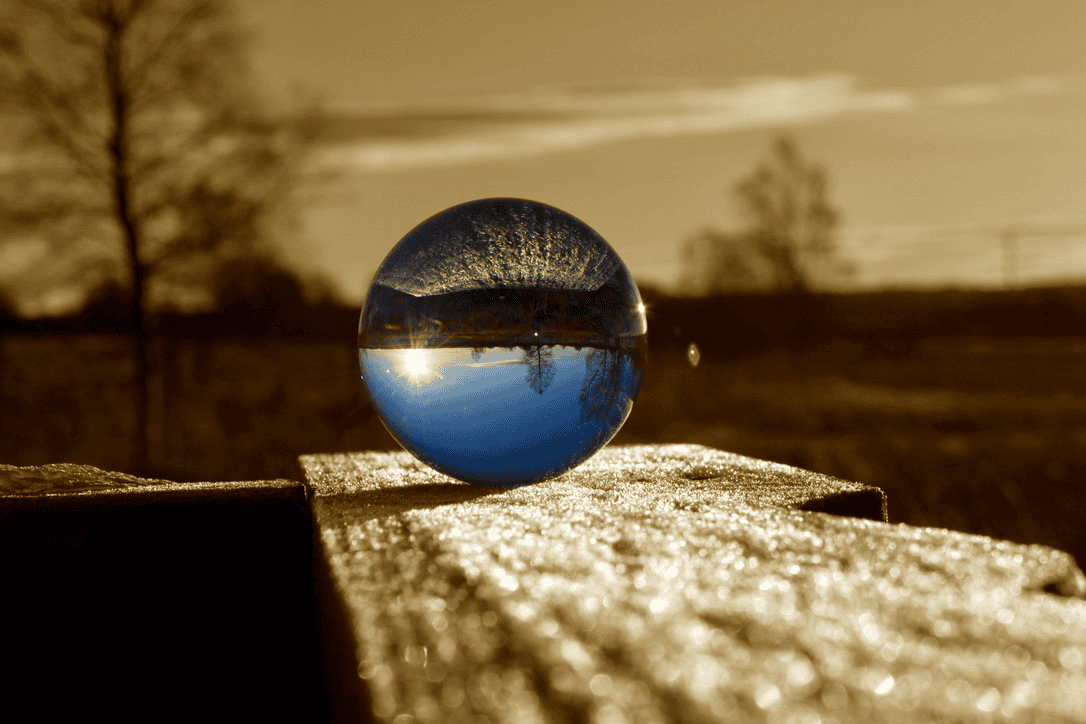
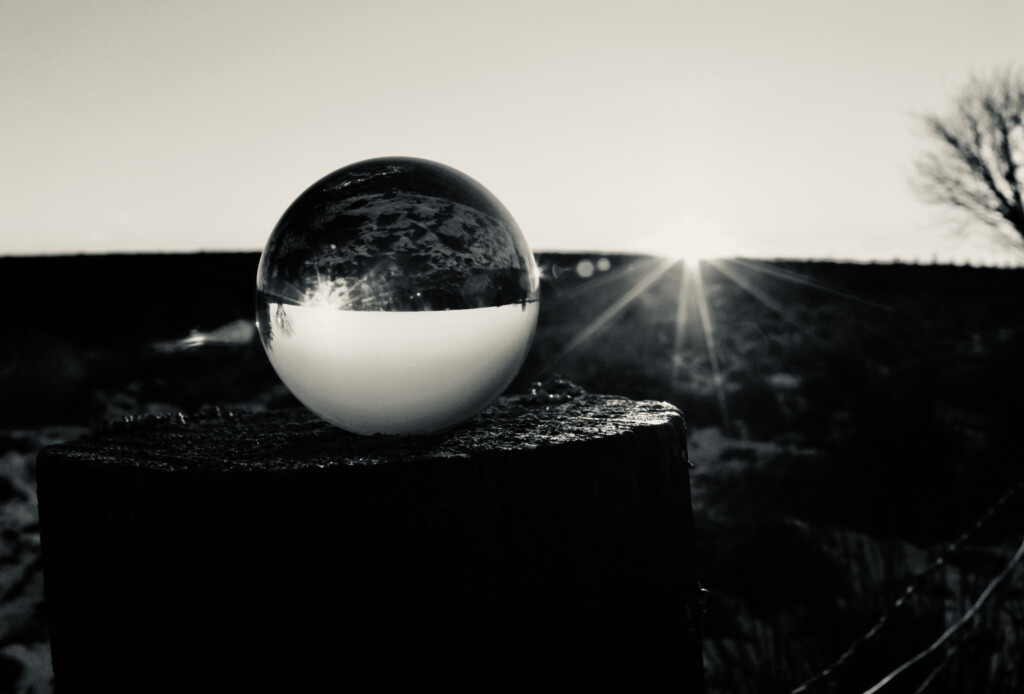
The opposite, this time. I ramped the light setting right up; the colours wash out to a degree, but the foreground detail in Lensy & the ice covered log he’s sat on become discernible.
Max light setting
Trying something different this time — I’ve desaturated shots before to give a washed out look, but never single colours. For this one I desaturated all the colours apart from blue to give a colder feel to match the sub zero temperature that this was shot in. The difference is quite subtle, hence the slider (the left hand shot is the original).
All my editing for this post was done using Photo Focus & Splash Colour Pro. This was an App I got free to replace my previous Colour Strokes App which is no longer around.
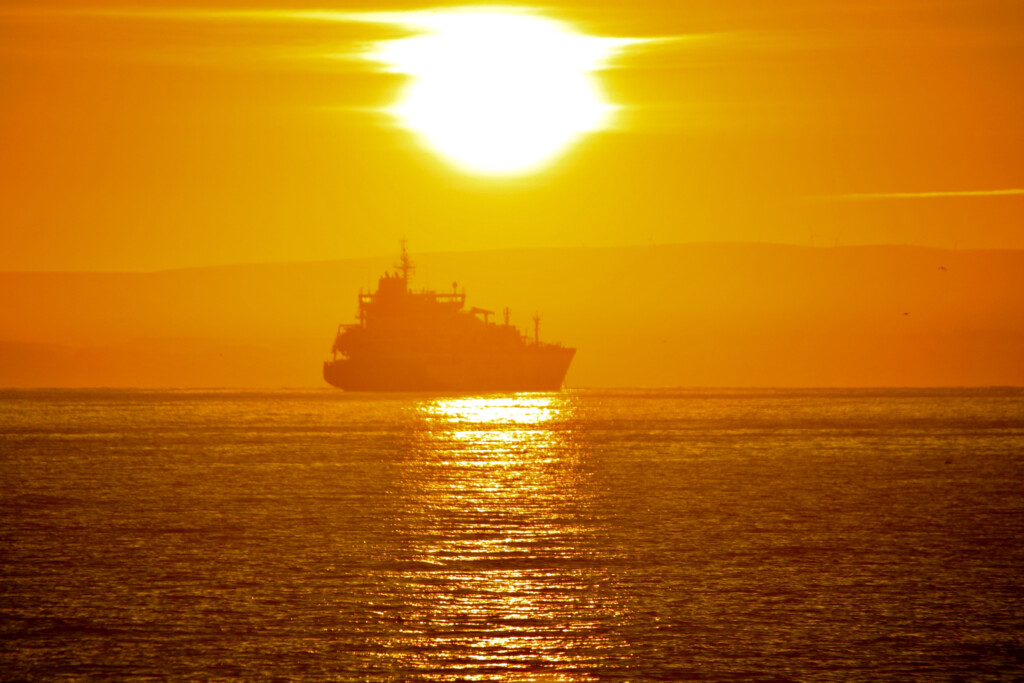
I’ve gone for another lensball shot for today’s editing fun